From file to software to machine to finished part takes a design along a path through many different vendors, formats, processes, and interactions. We as an industry are trying to manufacture, reliably with a disparate set of tools and technologies. In between ones and zeroes and finished product we have many crucial steps that get an idea closer towards becoming a thing. Depowdering in powder bed fusion (SLS, selective laser sintering) and other powder technologies such as Multijet Fusion was once seen as a cost center. An annoying laborious task that had to be done. A block of powder with 3D printed parts in it had to be sieved, hand cleaned for the parts to be sorted, matched and shipped. As much as a third of 3D printed part cost is manual labor. You can appreciate this is you see how this depowdering process works and just how labor intensive it is. Companies have traditionally offered tumblers and other surface treatment solutions to ameliorate this and improve surface finish. A few years ago a company wanted to change this. Rather that seeing depowdering as a cost center they saw it as a part of a series of process steps that elevated a mere polymer shape into a consumer-friendly part. Rather than just selling a machine that performed an operation this team, the DyeMansion team developed three different machines that while working together could depowder, surface treat and dye a part. A process chain with a high degree of automation and tooling meant to work together in a highly optimized way. We covered the company before when they raised a series A of five million, when they launched in the US, when they won an award, when they went to AMUG, when they showed at Formnext in 2016 and when they got investment previously.
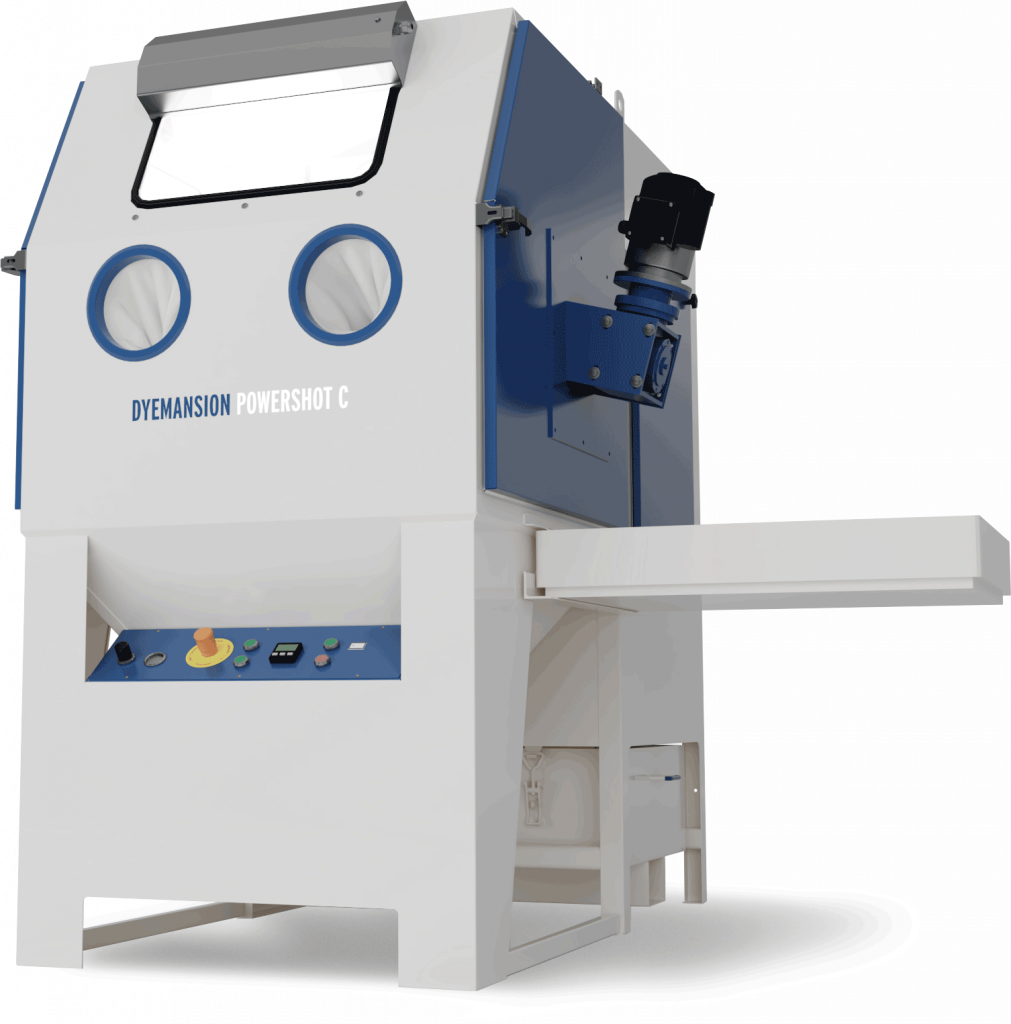
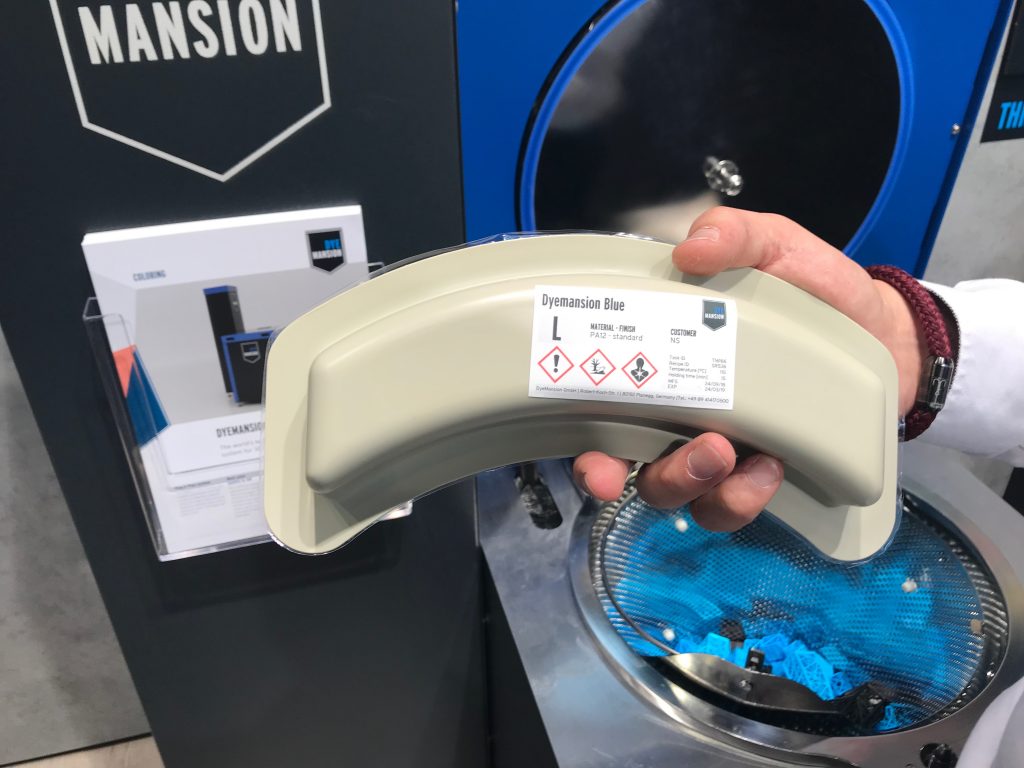
The Powershot C parts cleaning machine, step 1.
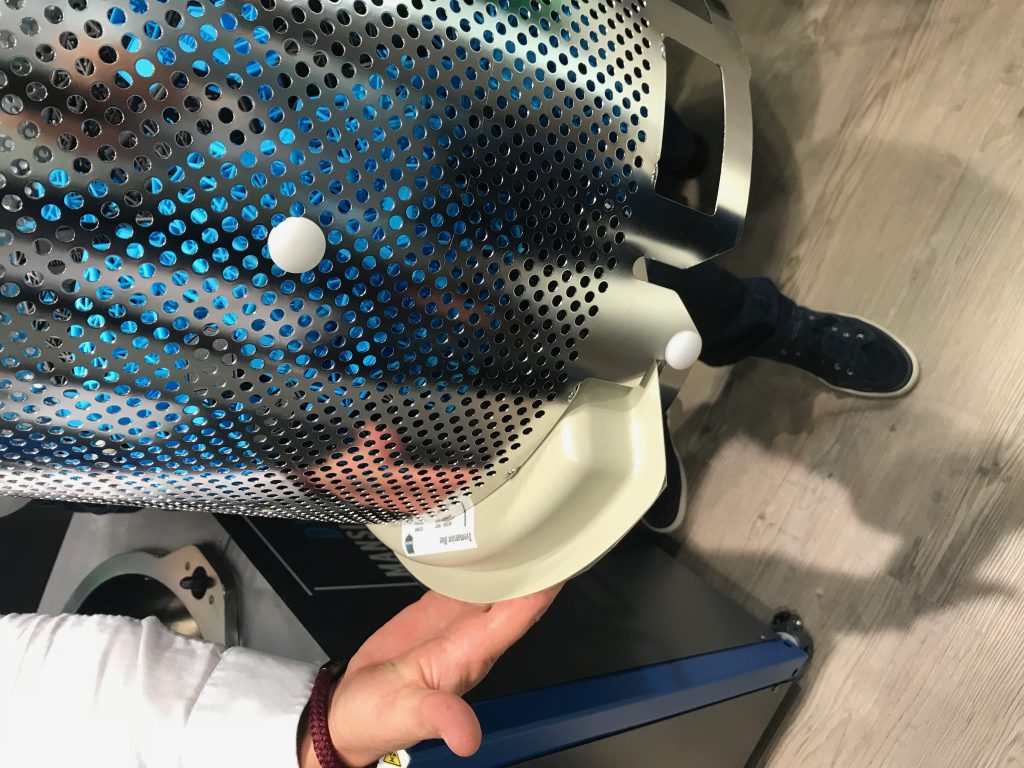
When I got started dyeing SLS parts was done in those electric soup kettles that you see at catered events. We used Dylon meant for coloring t-shirts and had a person stirring by hand. Parts would dye unevenly becoming dark blue on one side and lighter on the other. It was a mess always and cauldrons full of red and blue dye were everywhere. It didn’t exactly feel like the future of manufacturing rather more the future of witchcraft. And that is precisely where we are now. We’re going from spells, hope, exotic ingredients and promises to ISO, GMP and repeatable production. What do we see? Everyone wants to make or sell 3D printers, lots of people are developing software and many sell materials but only one firm is developing a line of post-processing solutions that in an integrated way depowders, cleans and surfaces parts. The three machines work in tandem and are rather confusingly named the Dyemansion Powershot C, Powershot S and Dimension DM 60. The Powershot C is not a camera but then again there are precedents in the 3D printing industry in having names similar to camera names. The C cleans parts and depowders them using movement and ionization and damaging parts less than alternatives, while the S is a blasting cabinet with a high degree of automation that gives parts a more closed and more uniform surface texture and structure; and the DM 60 is the dyeing unit.
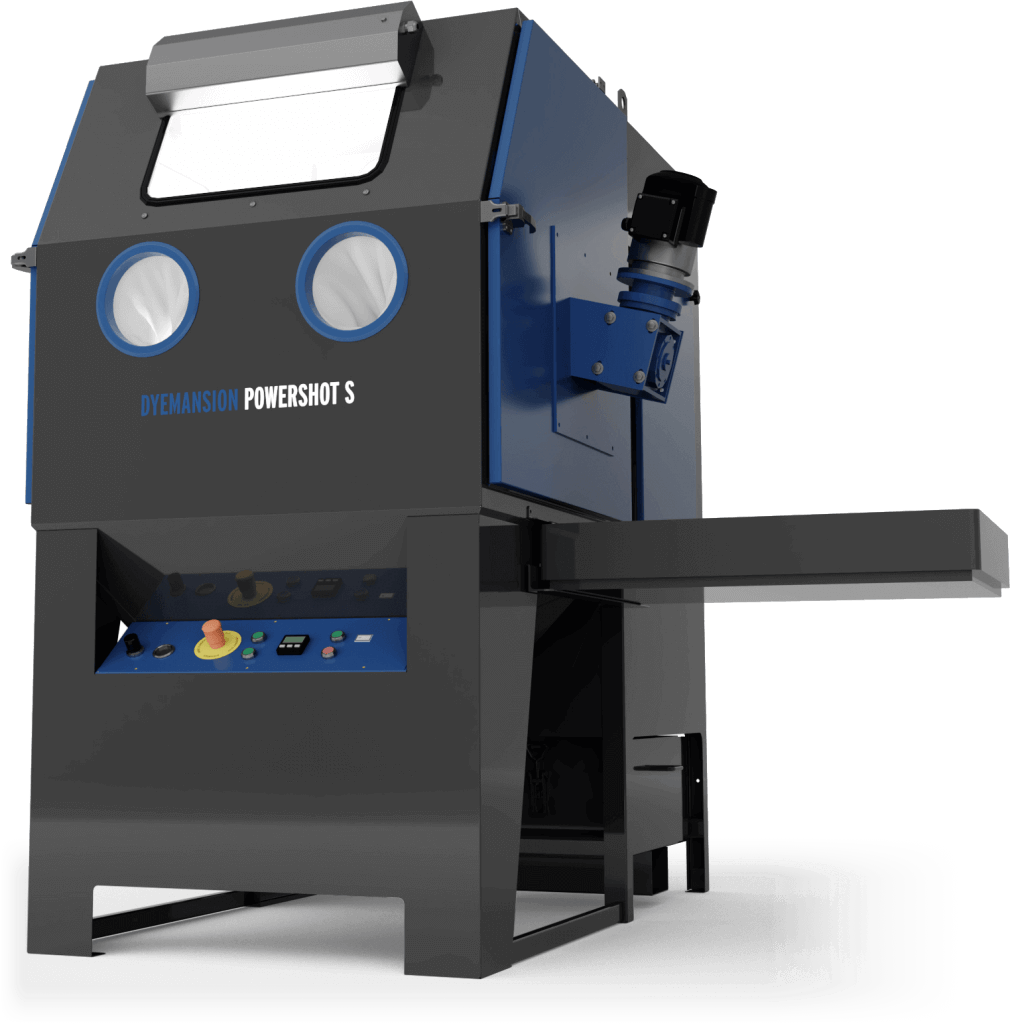
The S, the second step for surfacing.
All in all I’m a huge believer that in a Gold Rush sell picks and shovels and have heard great things about the labor-saving capabilities of these units from friends. We spoke to Kai Witter who after a long 3D printing career became the sales manager at DyeMansion and is helping bring the technology to manufacturers worldwide.
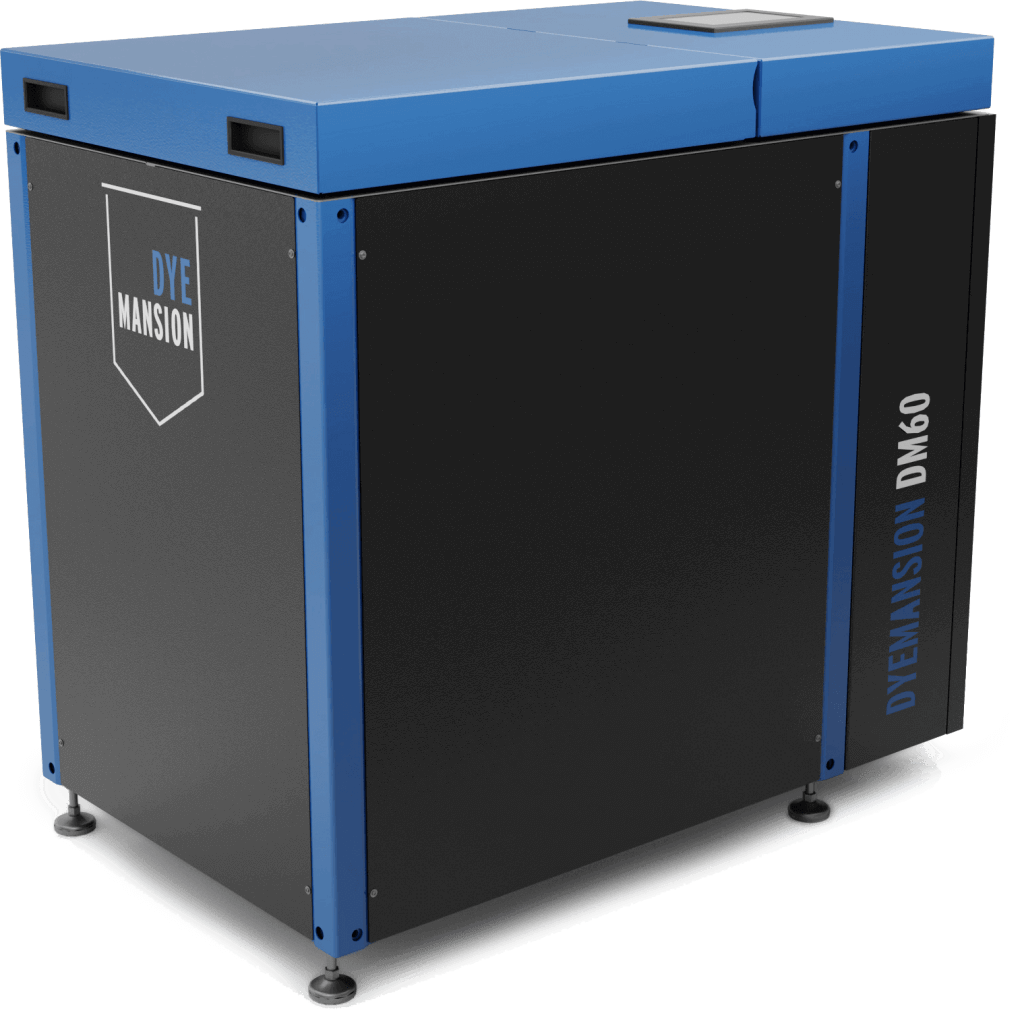
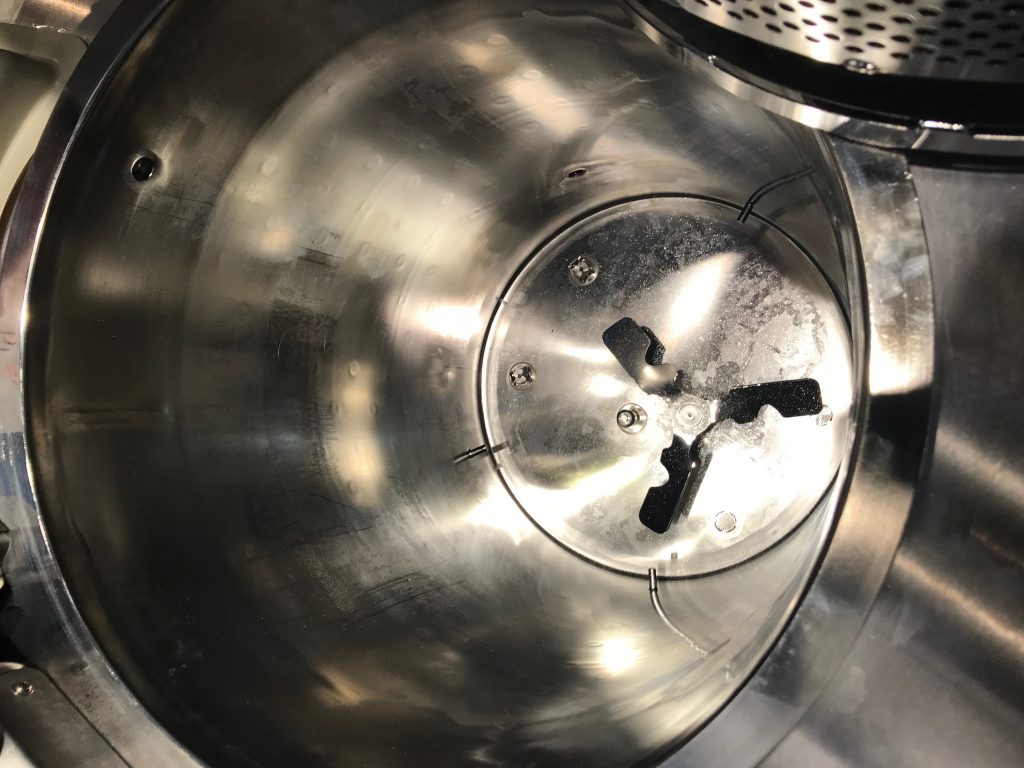
The DM60 Dyeing unit
Kai said that Dyemansion is, “A company that’s evolving from a startup to a global market leader who offers value-adding post-processing solutions for AM plastic parts manufacturing. We are the challenger of the status quo, together with AM printer manufacturers we challenge injection molding industry.”
How much labor does your depowdering station save? If I did 5 full builds a week, how much money or how many hours would I save?
As usual, all this is application dependent. Let’s look at saved hours as cost of conventional manual blasting units and staff costs vary a lot:
The average cleaning time of one batch with PowerShot C is 10 mins
- Let’s assume 100 mid-sized mid complex geometry parts (loading volume is a full HP4200 job or 75% of a EOS P3x Job). So we assume 5 Runs/week
- Loading and unloading each 2 mins, in total 4 Mins
Powershot C:
- 4 mins (loading & unloading)
- 5 runs a week
- 50 weeks
- 4 m(ins) x 5 (runs) x 50 (weeks) = 1000 mins or 16,5 hrs
Conventional manual blasting:
- 3 mins average. cleaning time/part
- 4 mins (loading & unloading)
- 5 runs a week
- 50 weeks
- Cleaning: 100 (parts) x 3 (mins) x 5 (runs) x 50 (weeks) = 75.000 mins/1.250hrs
- Loading & unloading: 4 (mins) x 5 (runs) x 50 (weeks) = 1.000 mins
-
16 vs 1267 hrs
-
Powershot C saves 1251 working hours.
So it is three units that work together? How do they work and how much do they cost?
The three unity combined build an integrated workflow, so called ‘print-2-Product’ workflow to turn 3D printed raw parts into high value products in 3 hours only. Automated, efficient and reproducible.
- Powershot C: Cleans parts in 10 mins only, without damaging the surface. Compared to manual cleaning we assure the sensitive surface of 3D printed raw parts is not damaged from too much blasting pressure and broken or worn blasting media.
- Powershot S: Refines the surface of the raw parts with a smooth touch, matte-glossy finish and improves scratch and water resistance of the parts in 10 mins only. The PolyShot process prepares the part for homogeneous dye absorption that leads to an even color image over the complete surface of each part and all the parts.
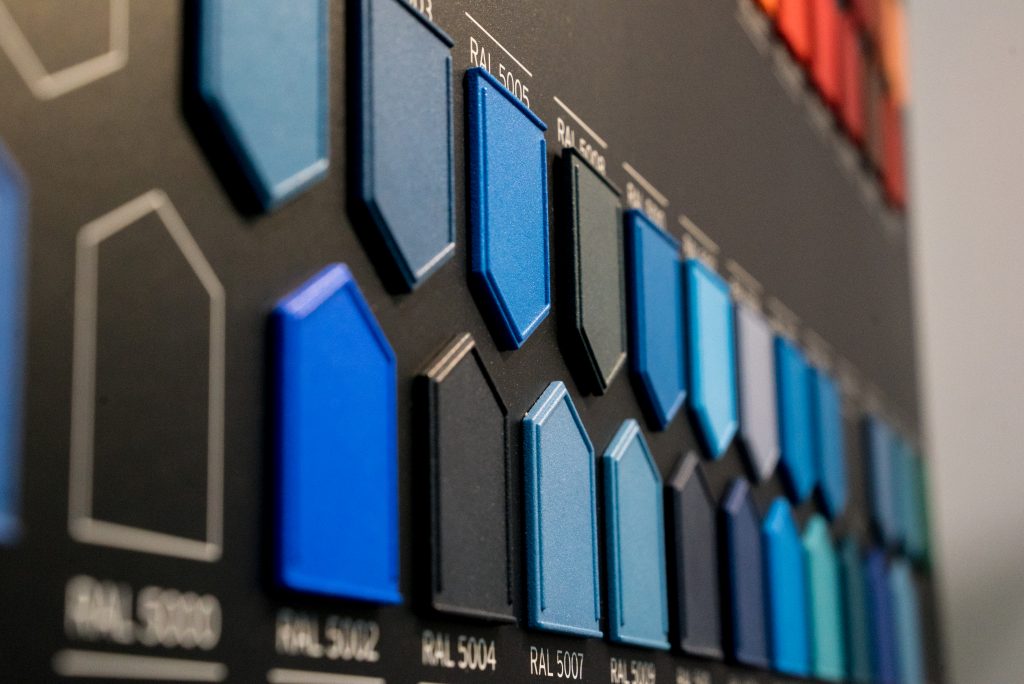
- DyeMansion DM60: Is the fully automated Dyeing system to fit out the parts with any color required. The DM60 adds the final value to parts. Launched at tct 2018 we have added 170 standard RAL colors to our out of the box portfolio. Any other color, suiting the material and required finish of the part can be developed at DyeMansion in only 3-4 weeks
So how does it work as an investment?
“If we assume industry standard of 5 years depreciation and the calculation above (saving 1250 hrs pa) customers have a positive impact on their bottom line after the 1st month of using the Powershot C.”
Why is damage prevention so important?
“Our infiltration Dyeing process does not add a layer to the raw part as we know it from spry painting. They dye connects with the material and avoids another process step to create a nice surface. Further it enables to finish printed textures, eg leather structure alike textures as used for automotive or aerospace interior parts.”
What does the ionization do?
“It removes the static charge of the parts and thus avoids that parts attract loose powder residue in the cabin atmosphere back to the parts. It ensures that parts are really clean.”
Why is a homogenous surface quality important?
“A homogeneous dye absorption is the prerequisite for an even color image of the end use part. We finish the printed part including printed textures without any impact on the geometry. Neither the Powershot C (Step 1), nor Powershot S (Step 2) are abrasive and (Step 3) the dyeing, does not add a layer to the part like spray painting does. Thus, an additional process ta accomplish high quality end-use part surface is not required.”
How does the second step work?
“The PolyShot surfacing is a proprietary surface compression process with plastic media to even out the heterogeneous surface roughness and porosity of 3D Printed plastic parts.”
Why is the feel of the product important?
People are used to comparing parts with what they know, such as Injection molded parts. Rough surfaces don’t create an image of quality, they are scratch and dirt sensitive.
It is all about perception and mind change. The high-quality perception of 3D printed parts on a manufacturing level, even if the visual appearance may not be relevant for the functionality (functional end-use parts or functional protoytypes) is a prerequisite to open up more and more applications that are injection molded today, maybe only because of the feel.
Does it make it feel more luxurious?
I would not call it luxurious. I think it meets injection molded standards, at least. Nevertheless, some of our customers from the life style industry describe our matte-glossy look as more valuable than the typical shiny look & feel known from Injection molded parts.
How long do these steps take?
- Step 1 – Powershot Cleaning => 10 mins
- Step 2 – Polyshot Surfacing => 10 Mins before the dyeing and optionally a few minutes after the dyeing to increase the matte-glossy look & feel.
- Step 3 – Dyeing => 90 to 150 mins
How does the coloring process work?
“We have developed an automated, flexible, geometry independent infiltration process where the parts are constantly moving in a water bath. The cartridge is filled with the recipe (reflecting color, material and finish) to accomplish the required color. Further a RFID chip on the cartridge defines the required process parameters such as temperature curve, holding time and pressure that is required. The dye connects with the part as a chemical reaction.
The recipe and DM60 process together make reproducible, high quality end-use parts. The operator just scans the RFID information, adds parts and Cartridge to the part basket of the DM60 and presses start. After 90 – 150 mins the DM60 process is finished including a cleaning and fixation step. When the DM 60 door opens, parts a free of dye.”
How much are the cartridges and how do they work?
“The cartridge price varies between €40 and €105 depending on the required volume of the dyebath.
The cartridge contains the recipe for the required color and the RFID Chip for the required DM60 process parameters. The cartridge is inserted into a shaft at the bottom of the part basket. The cartridge is opened and the dye mixed with the water when the DM60 has reached the process conditions. After 90-150 minutes the parts are ready just a little moisture (Dye free) from the cleaning a fixation phase remains.”
How many colors can I do?
“We have around 200 Colors of the shelf and have developed more than 400 individual colors for customers, such as corporate colors, creative colors and for special finishes. We can develop almost any color within 3-4 weeks development time.The price is €250 for a defined color from a color system such as Pantone and €750 form a reference part.”
What are some of the interesting things customers are doing with your products?
This is always the toughest questions. There are so many interesting and mind-blowing applications with DyeMansion. But the competitive advantage our customers accomplish prevents them from making it public. Famous parts are automotive and Aerospace interior parts, prothesis and orthoses, medical devices and instruments, Eyewear frames and top-notch sports shoes with 3D Printed and DM finished midsoles.