Make All the Things Part 2: Ring Creation and Casting a Wax Ring, Part 2

This is the final installation of the wax ring project I have been working on. It has been such a great learning experience, and it has invigorated the maker within me. I highly suggest everyone to start making projects for fun. There is such a cathartic feeling attached with having an idea and bringing it to completion. It really pushes oneself to get things done. The creativity and new skill sets associated with building projects is so rewarding. Before this project I had zero skills in jewelry making and prototyping. After this project, I will not be at the level of a professional jeweler, but I have a newfound confidence to experiment and make new jewelry projects in my spare time. I also see what areas I need to improve to be a better designer. I will definitely be working and crafting my 3D design skills if I want to make very intricate designs for the future.
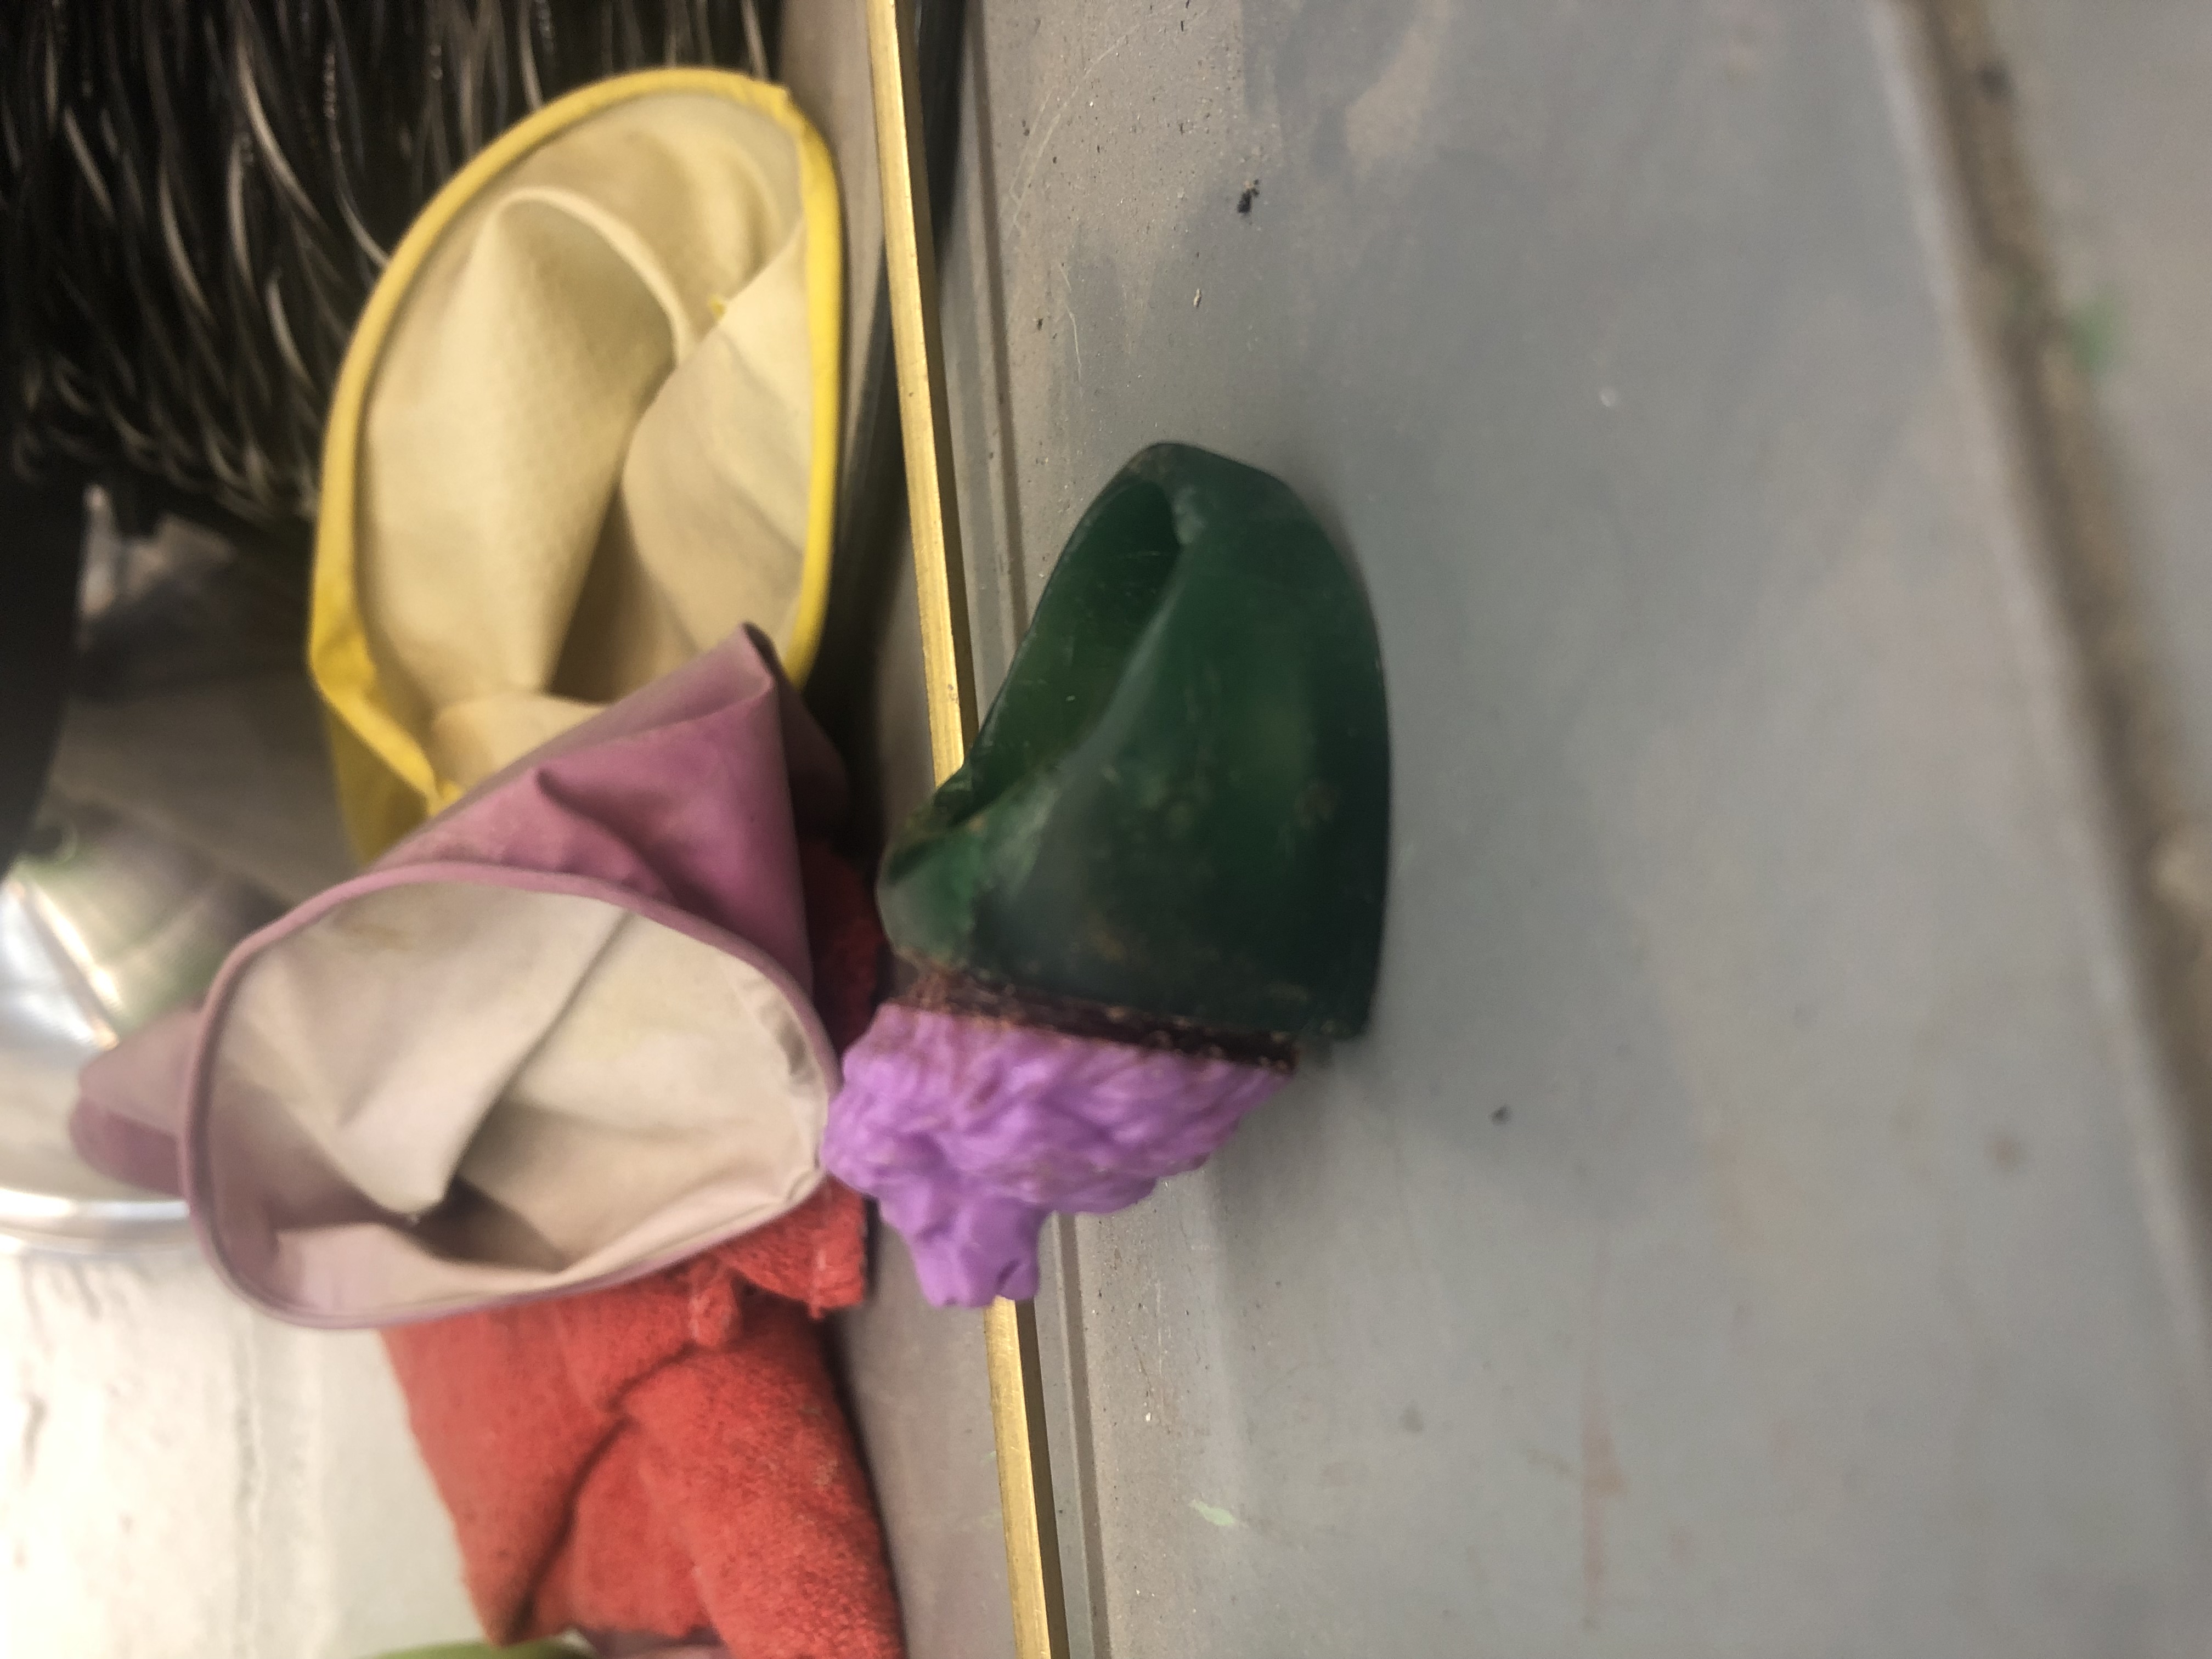
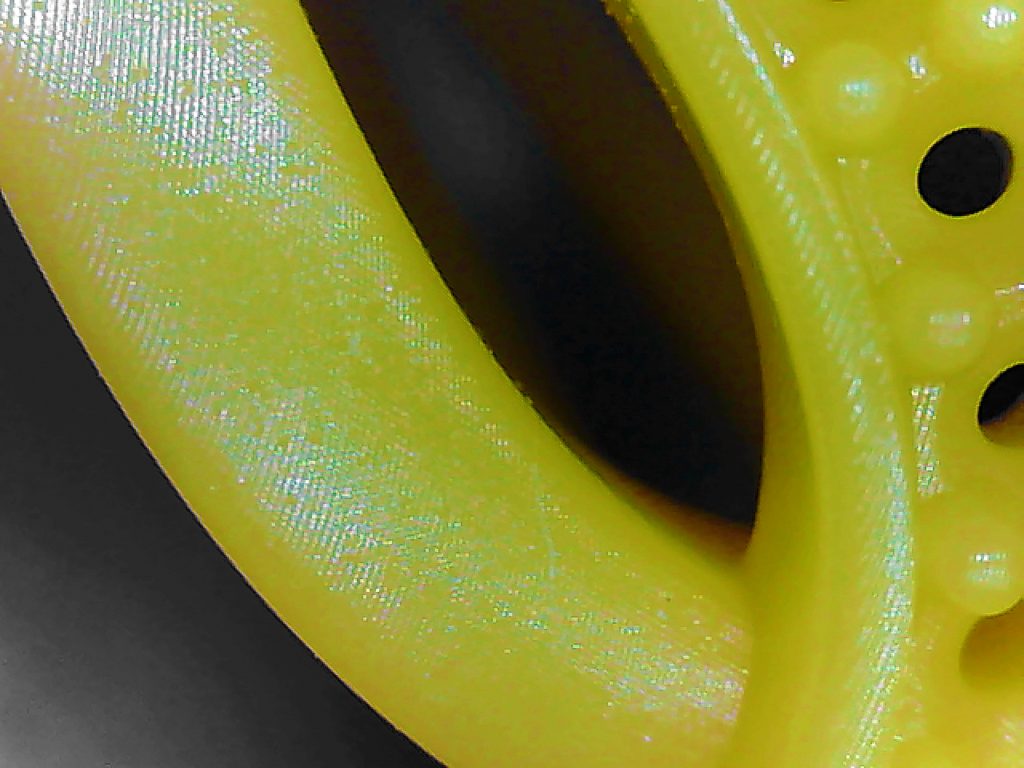
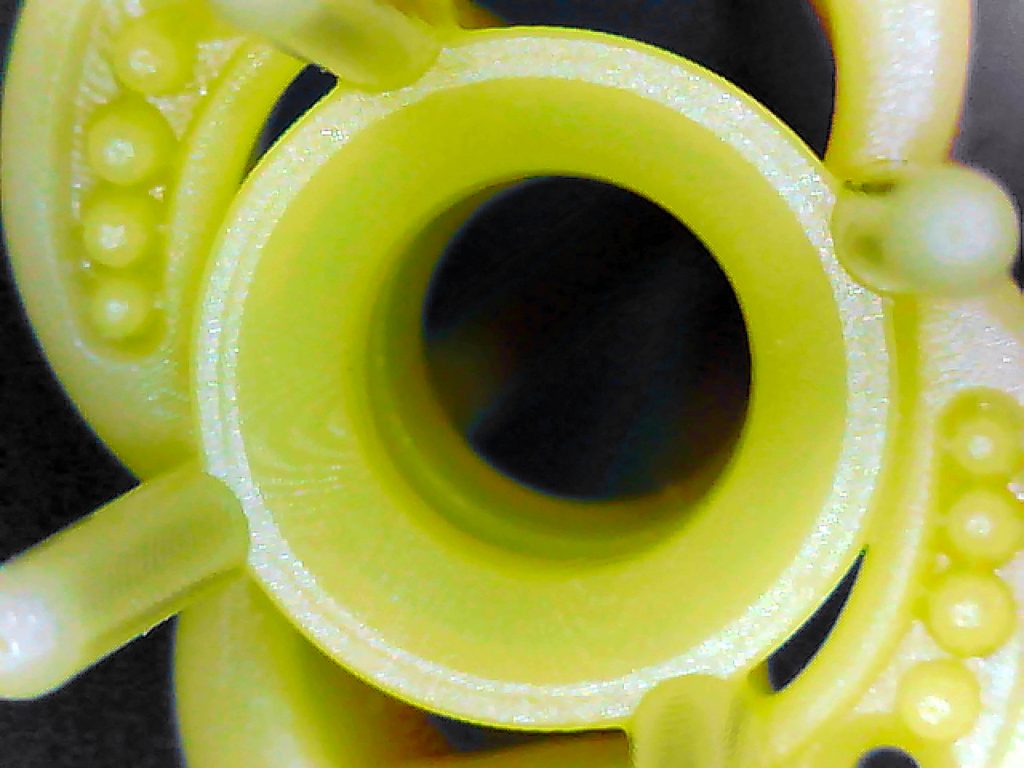
Before Cleaning Up

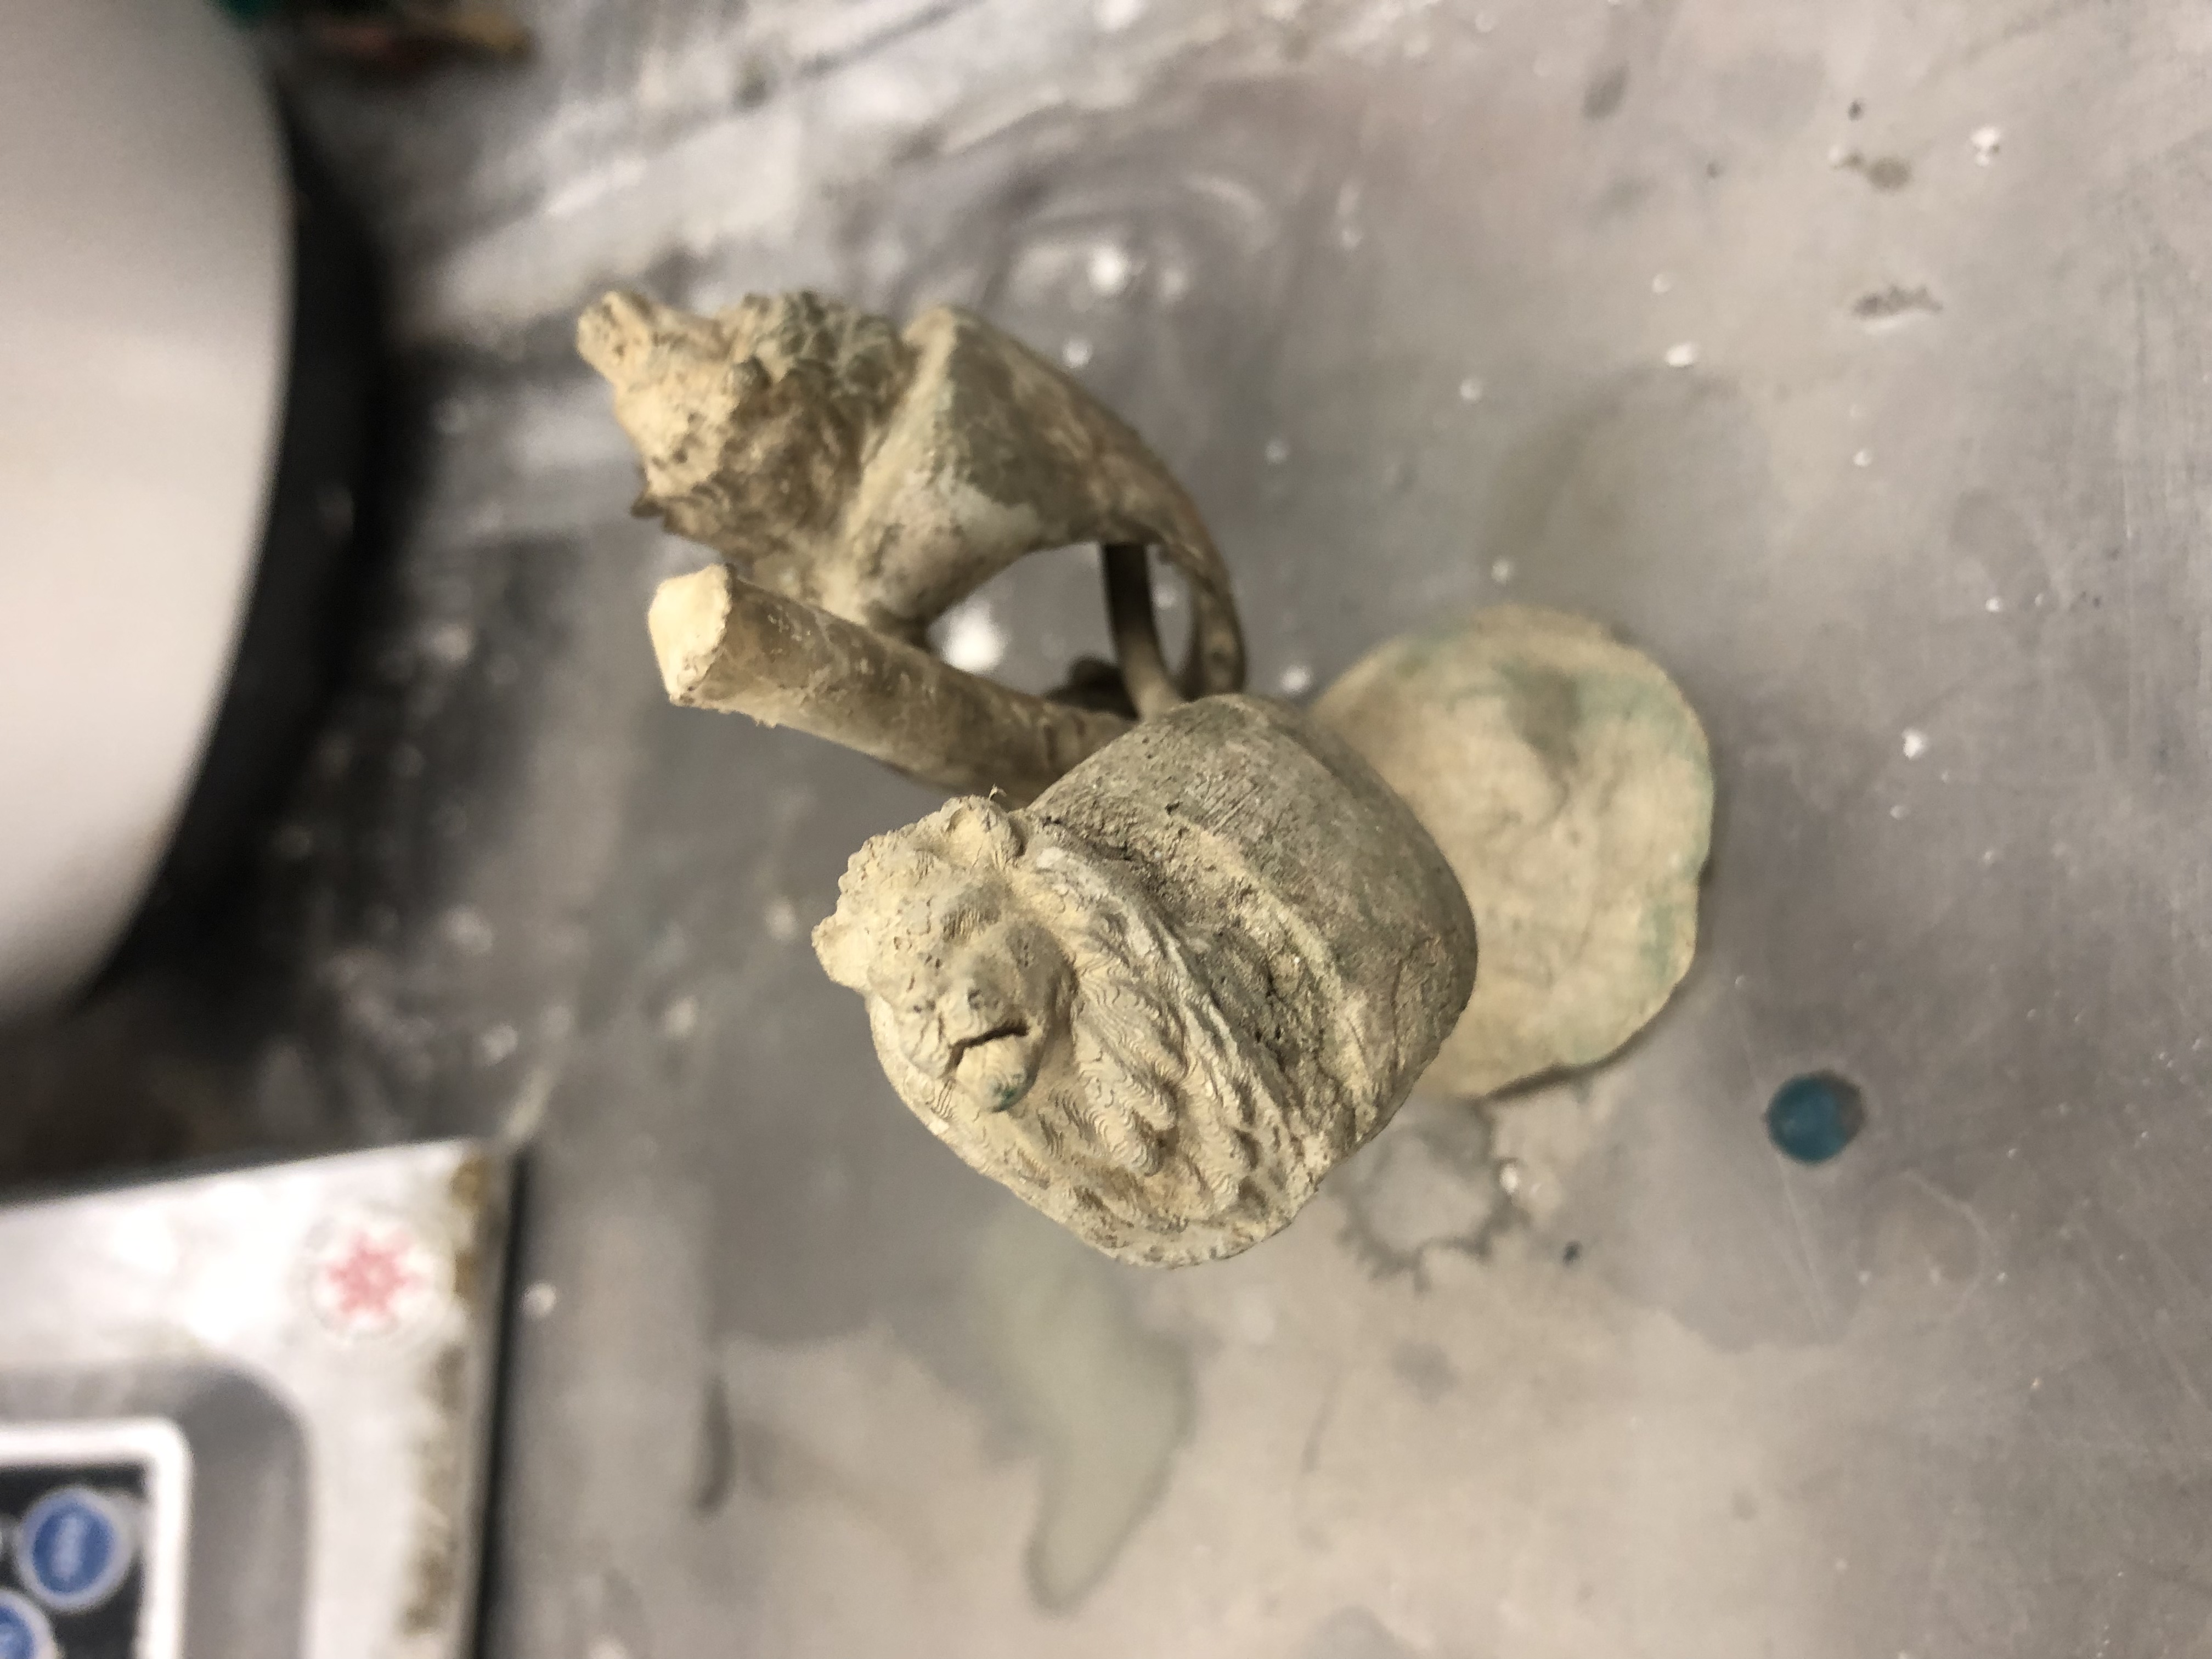
The end of this project required a good amount of clean up of our rings. Buffing, cutting, as well as sanding was necessary to complete the project. The ring was still attached to our sprue structure that was discussed in our previous articles. In order to remove this,  we first needed large bolt cutters to clip the base material of the structure. This requires one to place the structure on the floor and then use force to cut the base. I had to put on a mask for facial safety in case of debri flying from the ground towards my eyes. After this has been cut, the tree like structure can then be cut further with different tools. The main tools used for this include a jeweler’s blade as well as pliers. The pliers were used to remove the stems of sprues within the structure.  It takes a bit of dexterity as well as patience to make sure that the structure is properly handled. 
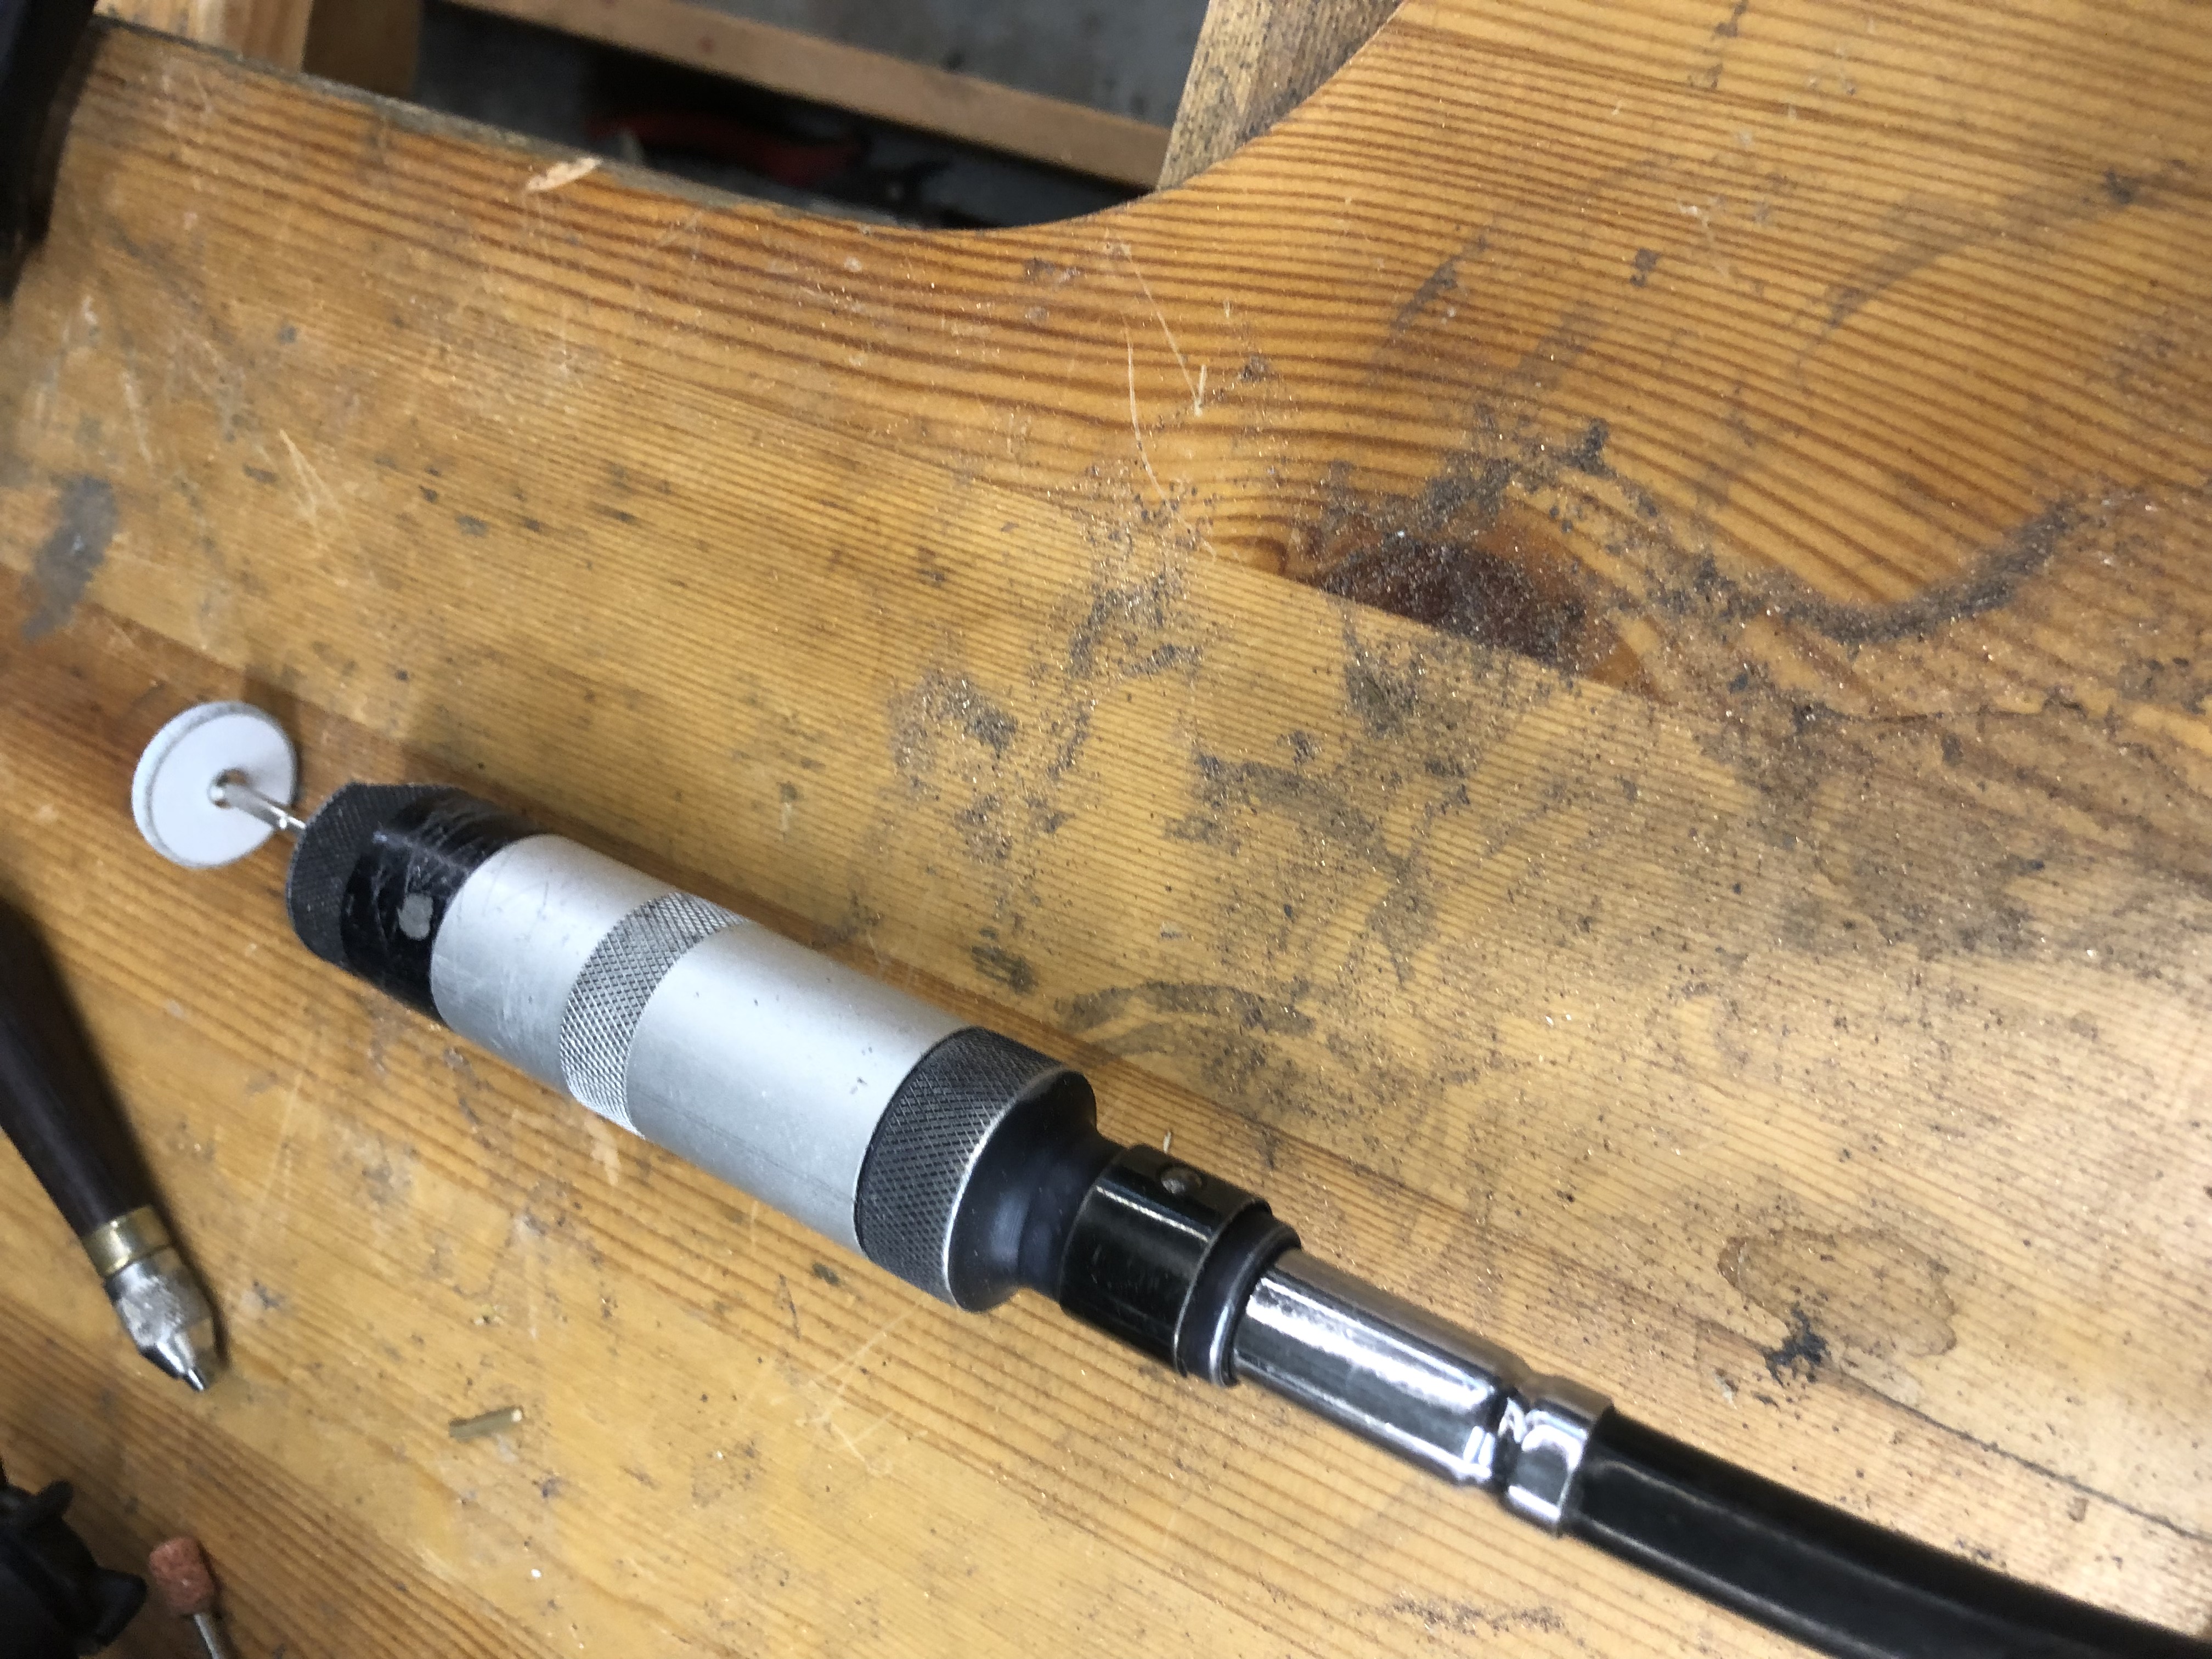
Rotary Dentist Tool

The biggest issue from this is making sure that the cuts and blade movement are precise. A jeweler’s blade is very thin. This can lead to the blade breaking easily during a cut if one is not precise in their movement. One does not want to have chunks of material still hanging off their piece also. This will make the next step of the process way more difficult than we would want. I learned this through firsthand experience. The next step in the process was focusing on grinding the extra chunks of material within the ring. The pliers did an okay job of removing the stems within our sprue structure, but nubs of the material were still present. I then used a handy set of dentist tools to grind the inside of my rings. Before this project, I had no idea how the dentistry industry and the jewelry industry used similar tools. With the rotary grinder tool available to me, I then smoothed out the inside of the ring as best as I could. Honestly, my precision and detail were only okay. It is definitely a great start in the journey of refinement and detail. I would say that I miss out on details at times, and I believe keeping up with this hobby of jewelry will really develop my attention to detail.
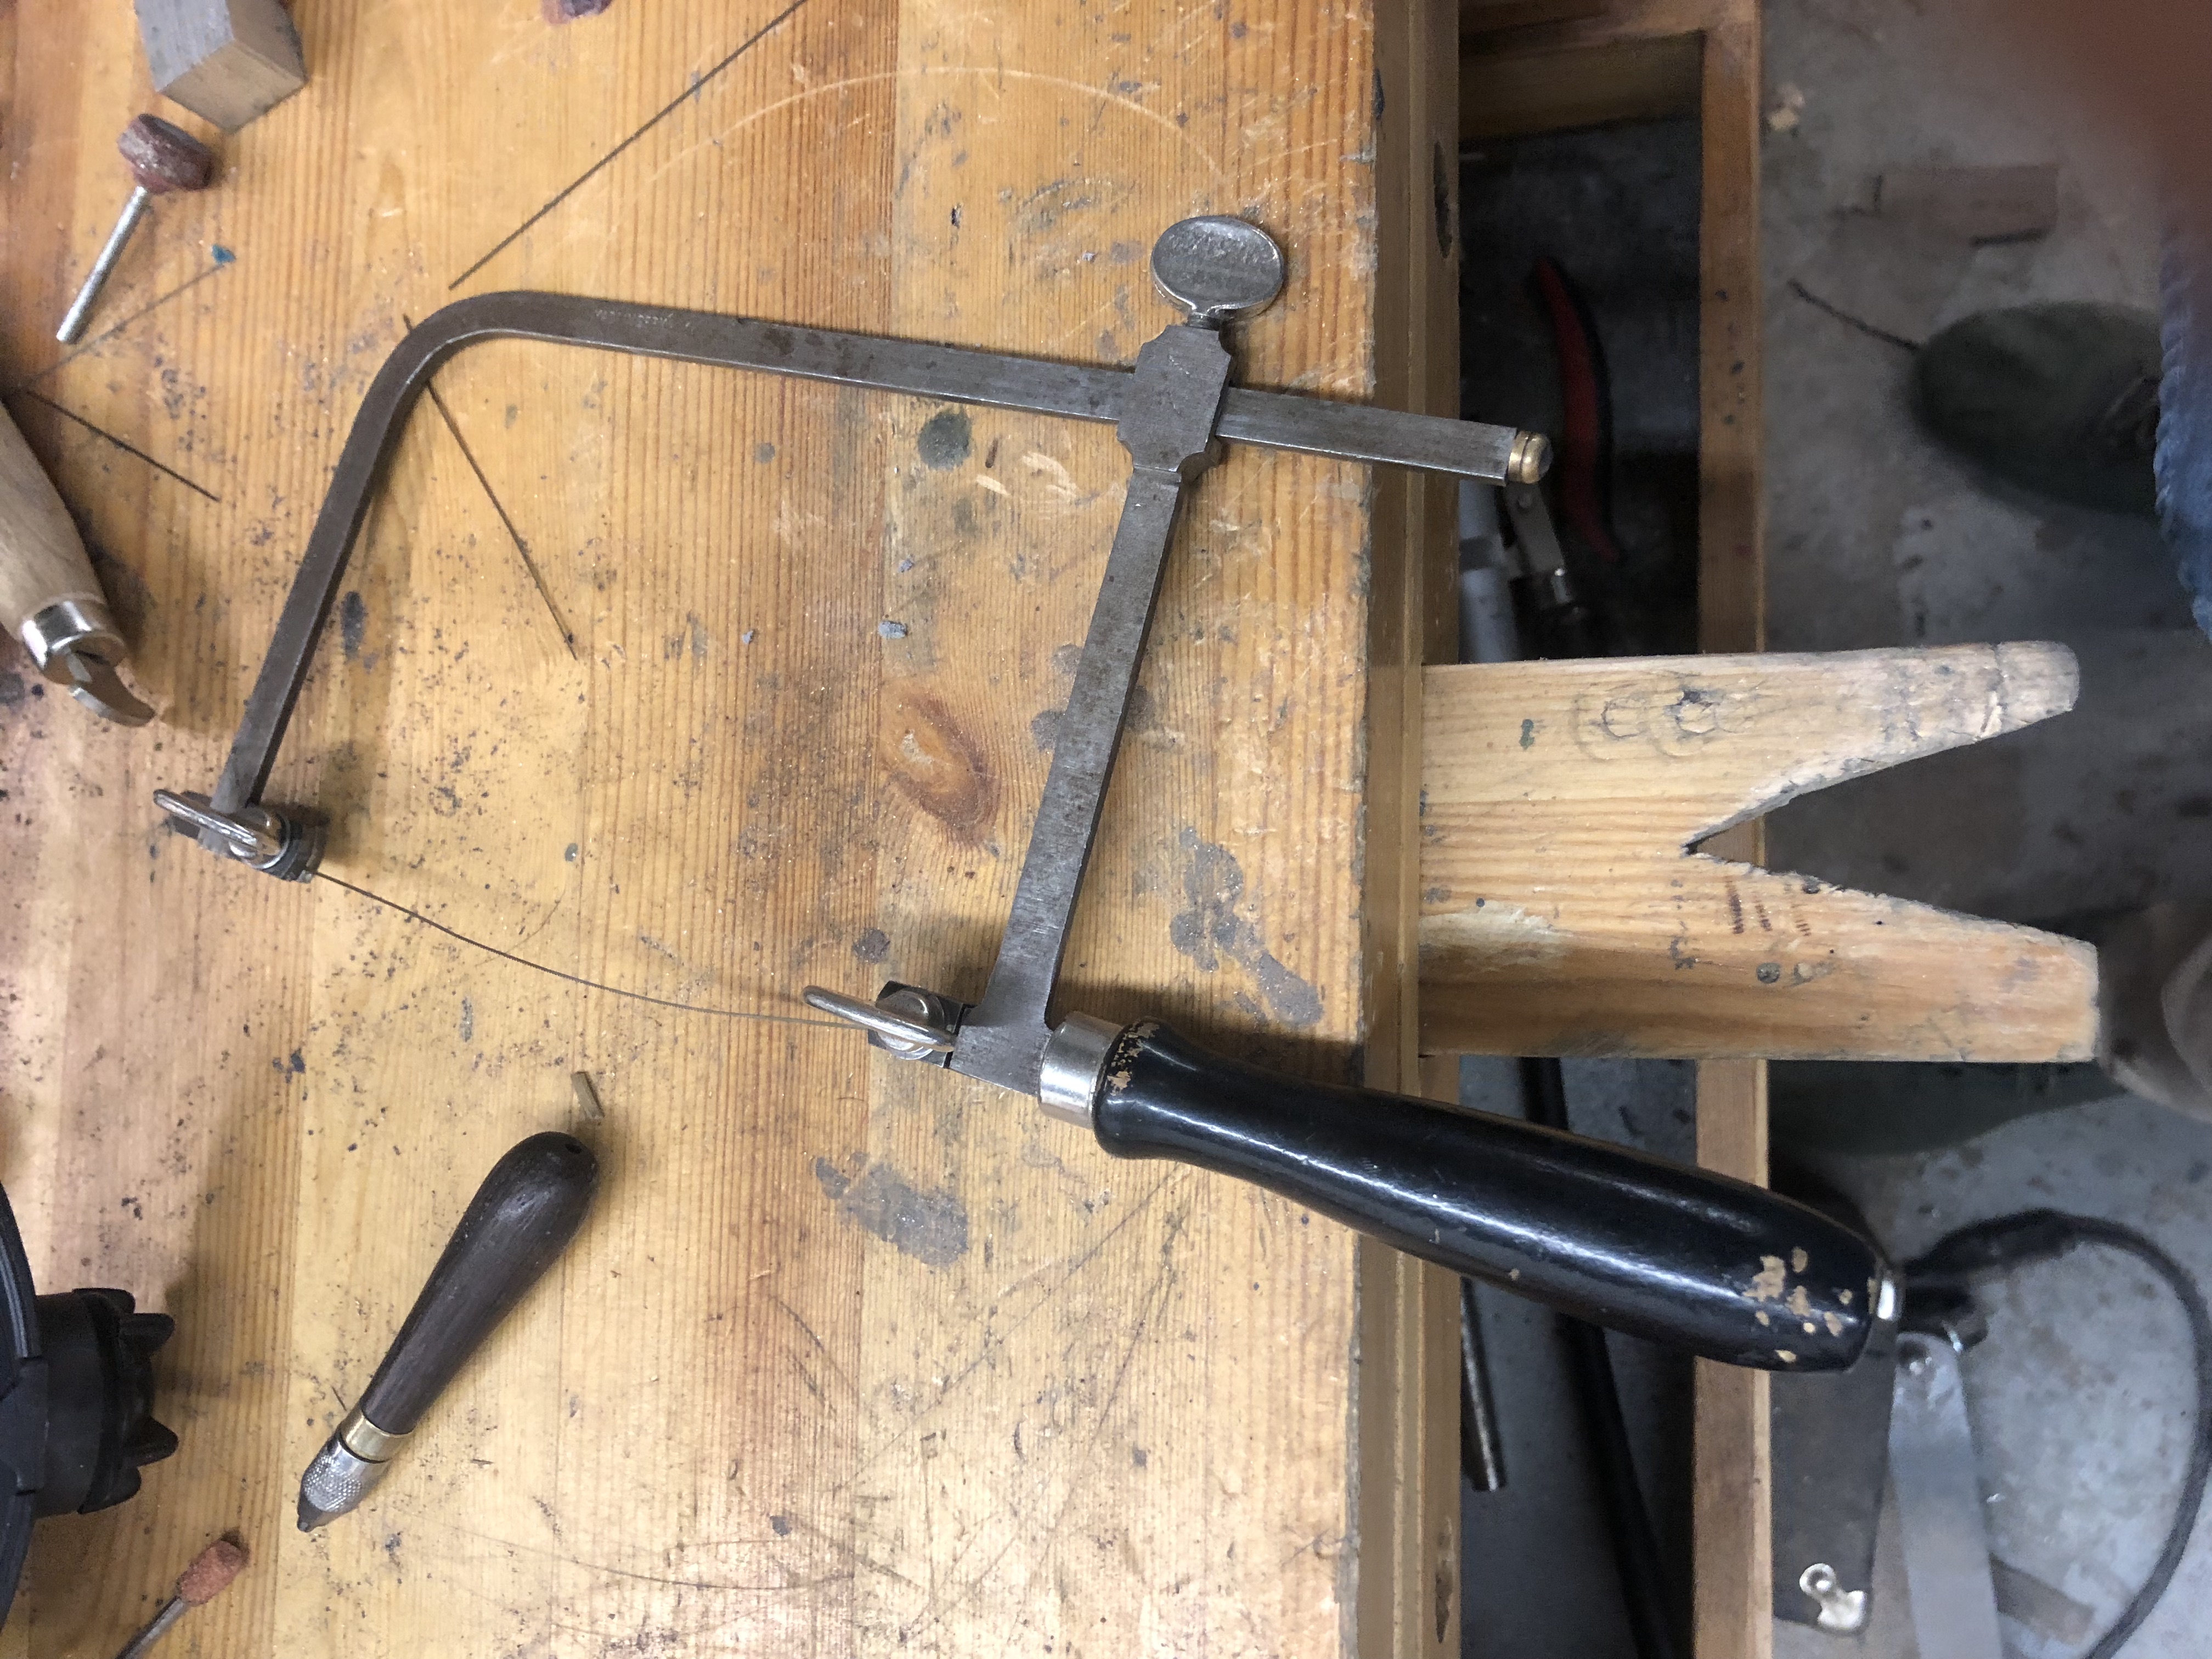
Jeweler’s Blade

Once these nubs of material were ground out with the dentistry tools, I focused on finishing the product in terms of refinement. This is where sanding precision came into play. I took an 80 grit piece of sandpaper and applied it to the perimeter of the rings. This helped to bring out the true shine of silver in the designs. This part of the process was simple, but the most difficult part was to come. I had to sand done the face of the lion without degrading the actual design of the ring. This requires using the rotary dentist tool again. It took some precision, but the lion head was buffed and the silver shine of the material came through all around the ring. 

Finished Product

With this done, I finally had a cool lion ring made. The overall cost of the project itself in terms of silver was $200. With a bit more refinement, I will be able to sell this product at a high price point. Some follow ups of this project would include building a mold of the ring. This would then cut down the time associated with creating this product. Thank you all for watching this project evolved, but be prepared for new projects that I have ready for the future.

The post Make All the Things Part 2: Ring Creation and Casting a Wax Ring, Part 2 appeared first on 3DPrint.com | The Voice of 3D Printing / Additive Manufacturing.

Make All the Things Part 2: Ring Creation and Casting a Wax Ring, Part 1

A curious mind and a makerspace results in interesting potential. Previously I had explained my intention to create a ring with the materials in my local MakerSpace of Pumping Station One. The last month was dedicated to a bunch of preparation and learning the process. It has been an immense experience that is still continuing, but I will inform everyone about the first developments of this project and follow ups as needed. 

Original Ring Design

Firstly, I was curious and wandering around Pumping Station One and learned about the Small Metals Area. I just saw the material there and realized what I could do almost instantaneously. I am a firm component of being able to create items for oneself. It is a very empowering mindset to realize that we can do things for ourselves. Coming up with an idea and driving it to completion is a great feeling and experience. Honestly, it is one of the best feelings I get within this world. But let’s stop my geeking out, and let’s get into the details.

I wanted a lion ring. I then put in substantial effort towards this goal. To create this ring I utilized carver’s wax initially for the body of the piece. Then I found a 3D printed lionhead online that I thought was stylish. This then was used for the front facing design of the model. I attached this onto the ring body with sticky wax in a uniform manner. This then created my prototypical design for a ring. The majority of the work done in this stage was dedicated to sanding, as well as molding the ring, to the specific weight I wanted to use. This work took a couple of days of crafting, but now that I understand the process more, it will take even less time than the next time I want to do this. 

Kiln

The next part of this project was filled with lots of hot wax and continuous failure. Sprues of hot wax are needed in terms of attaching a model. This model is plastic and wax, which means that it will be burned within a kiln for metal creation purposes. Chemistry is a fun thing, but I digress.

The sprues must be attached in almost a tree-like structure in order for an item to be cast from plastic or wax into a metal such as silver. This tree structure is placed in a container. In order to cast this, we utilize silicon powder. The silicon powder is weighed in terms of a conversion sheet that a jeweler would use. Then it is mixed with water in order to create a gel. This gel is placed into the aforementioned container and it is left there until it hardens. Once it hardens the container is prepped for placement within the kiln. Mind you, a kiln temperature is around 1500 degrees Fahrenheit. So it is indeed a dangerous process if one is not careful.

Ring After

Once the container is taken out of the kiln, it is now important to understand the conversion of plastic or wax into metal. The tree like structure built is now flipped upside down. A metal of a choice is also melted at a very high temperature. Again, high temperatures are dangerous. Fortunately, I had the help of people at Pumping Station One. This metal is then poured into the container that was taken out of the kiln. The molten metal travels down the tree-like system and it effectively burns the plastic and wax. The silicon powder essentially holds the piece in place and creates a barrier so that the material does not dissipate and lose form. When the molten metal cools down, the container then may be taken to a water bath for cooling. This then concludes the first part of the process. What is needed after this is post-processing, and I will tackle that in a new article.

The post Make All the Things Part 2: Ring Creation and Casting a Wax Ring, Part 1 appeared first on 3DPrint.com | The Voice of 3D Printing / Additive Manufacturing.

Speed and Castability: What Factors Affect Final Casting Results?

Over the past few years, 3D printing has been transforming the jewelry industry. The introduction of 3D printers gives jewelers the capability to produce castable, high detailed parts in a fraction of time. But not all 3D printers are created equal, and casting results may vary widely, leaving some custom jewelers and manufacturers frustrated.

Additive manufacturing cuts production time dramatically when compared to traditional hand-carving methods and lately there has been a race for developing faster 3D printers for jewelers to produce rings in a matter of minutes and not hours. But does build speed really matter in 3D printing?  Should you have to sacrifice quality to achieve it?

With a long standing history of 3D printing innovation, EnvisionTEC focuses on real solutions to real application problems. The company introduced its patented Continuous Digital Light Manufacturing (cDLM) technology so that jewelry professionals wouldn’t have to choose between speed and quality.

DLP technology, which was first developed and patented by EnvisionTEC, has been the gold standard for 3D printing jewelry.  A standard DLP 3D printer builds parts in layers, one layer at a time. Each layer must be exposed to the light source and the time of exposure is defined by layer thickness and material reactivity. Once a layer has been exposed, and the specified layer is formed, a layer separation procedure is performed to peel the layer from the bottom of the material tray and replenish fresh resin to cure the next layer.

Over the years, EnvisionTEC has perfected a number of patented methods of minimizing the effects of this peeling separation, with highly castable options available to the jewelry industry that are widely used from custom designers to large manufacturers.  But there are limits to the amount of wax that can be used with DLP 3D printing.

When using wax-based materials, the exposure times are typically three to four times that of regular plastic acrylic polymers. The higher the material castability (i.e. wax content), the slower the exposure time. A number of other 3D printer manufacturers claim that they can produce rings in minutes using a standard layer peeling process. However, their resins contain much more plastic than wax, resulting in less than optimal casts with significant surface roughness and porosity.

EnvisionTEC’s cDLM technology works by adding an air gap (similar to the air gap below the puck on an air hockey table surface) between the part being built and the bottom of the material tray.  By building a floating layer, the separation forces are completely eliminated – so there is no peeling at all.  With no separation forces, cDLM 3D printers are able to print resins with up to a 90% wax fill (Easy Cast 2.0), allowing for patterns that are as easy to cast as any traditional hand-carved or injection molded wax pattern.

On top of all of this, the cDLM process is fast, allowing jewelers unprecedented manufacturing turnaround times. Traditionally, 3D printing castable materials would take hours to build. However with the cDLM technology, bridal and fashion rings can be designed, grown, and ready for investment casting the same day, which is a huge advantage for the jewelry market.

If you need a solution for 3D printing premium quality wax patterns for jewelry quickly that can also be easily casted, view EnvisionTEC’s cDLM technology. For more information visit:  EnvisionTEC Castables.

IT’S SUPER-FAST — CONTINUOUS DIGITAL LIGHT MANUFACTURING

  • Parts built as the platform moves continuously without separation, which leads to a drastic reduction in the building time as well as allowing for highly wax-filled resins to be used.
  • A drastic reduction in separation, forces delivery of highly accurate parts, with detailed feature resolution.
  • Better castability, as the wax based resin is cured twice as much during the build process, when compared to building using non continuous traditional DLP 3D printers. This delivers a porosity-free casting from EnvisionTEC’s ash free castable materials.
  • And more


Rings printed in Easy Cast 2.0 at 15 µm on the EnvisionTEC Vida UHD cDLM.

Based in Florida, Isaac’s Fine Jewelry now produces rings, pendants and other jewelry in a fraction of the time of traditional methods utilizing cDLM technology.

3D Printed Jewelry | Precise, Fast & Highly Castable from EnvisionTEC on Vimeo.

EnvisionTEC’s combination of 3D printers and its range of exclusive materials provides Isaac with a real competitive edge. Click here to see a video of Isaac Cohen and others describing why they chose cDLM technology.